When do I need to create a custom OAuth connection?
You’ll need to create a custom OAuth connection when:- The API you want to connect to only provides access via OAuth (not API keys or other authorization methods).
- Data Fetcher does not have a preset OAuth connection for that specific API.
Step 1. Set up an app with the API provider
Most APIs require you to create an app in their developer portal before you can use OAuth. Check the OAuth or Authorization section of the API documentation for specific steps, which typically involve:- Navigating to the developer section of your account
- Creating a new app or application
- Configuring the app settings
Step 2: Create the custom OAuth connection in Data Fetcher
- Create a custom request in Data Fetcher.
- Click on the Authorization tab.
- For Type, select OAuth.
- Click the + New button.
- At the bottom of the modal that opens, click create custom OAuth connection.
Required fields
- Name: a descriptive name to help you identify this OAuth connection later.
- Auth type: choose OAuth 1 or OAuth 2 based on what the API documentation specifies (most modern APIs use OAuth 2)
- Authorization URL: the URL used for the authorization request**, **when Data Fetcher opens a new tab and asks for permission to access the API (typically looks like
https://example.com/oauth/v2/auth). - Token URL: the URL used after the authorization request to generate access tokens from the authorization code. This is typically something like
https://example.com/oauth/v2/token. - Client ID: the app client ID from step 1.
- Client secret: the app client secret from step 1.
- Base URL: the root URL that all requests to this API use. e.g.
https://example.com/api/. - Scopes (comma separated): a comma separated list of the scopes that you want to access for this API. You can find these in the API documentation.
Optional fields
- Authorization Parameters: the parameters that will be added to the Authorization URL when making the authorization request. The API documentation will have a list of these parameters. Data Fetcher will automatically include the standard OAuth parameters
(response_type,client_id,redirect_uri,state,client_secret). - Token Parameters. The parameters that will be added to the Token URL when making the token request. Data Fetcher will automatically add the
grant_type=authorization_codeparameter. If you need to usegrant_type=client_credentialsinstead, simply add this as a token parameter. - Request Headers: any extra headers to be supplied with every request when using this custom OAuth connection.
Complete the setup
After entering all details, click Create connection. Data Fetcher will open a new tab to begin the authorization process. If your details are correct, you’ll be able to authorize Data Fetcher and start using this custom OAuth connection in your requests.Example: Connecting to Zoho People API
Here’s how to set up a custom OAuth connection for the Zoho People API:- Register with Zoho: Go to the Zoho API Console and register a new client to get your client ID and client secret
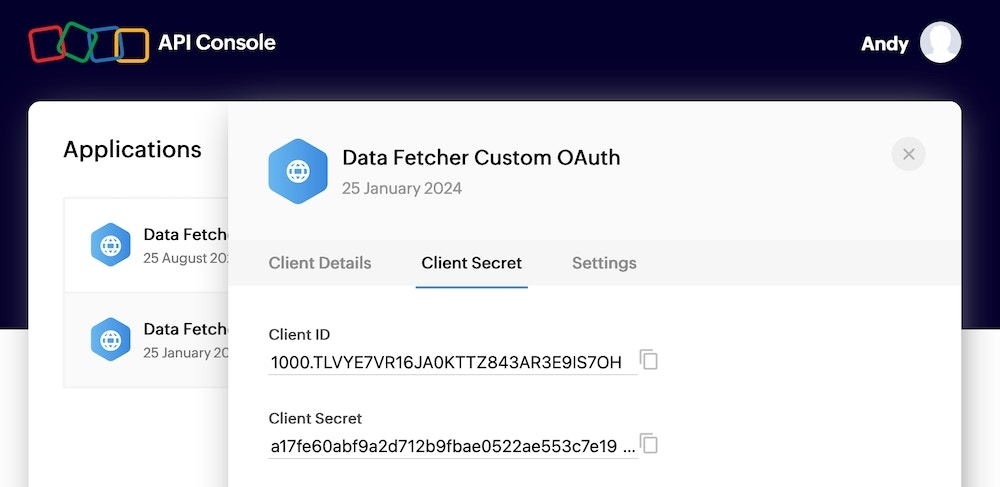
- Configure in Data Fetcher: Using the Zoho People API OAuth documentation, we enter these values: